Imagine turning your wildest designs into shiny wearable art right from your living room. Making enamel pins at home isn’t just a crafty pastime; it’s a chance to unleash your creativity and wear your personality on your sleeve—literally! Whether you want to showcase your love for cats in space or your obsession with tacos, the possibilities are endless.
Materials Needed
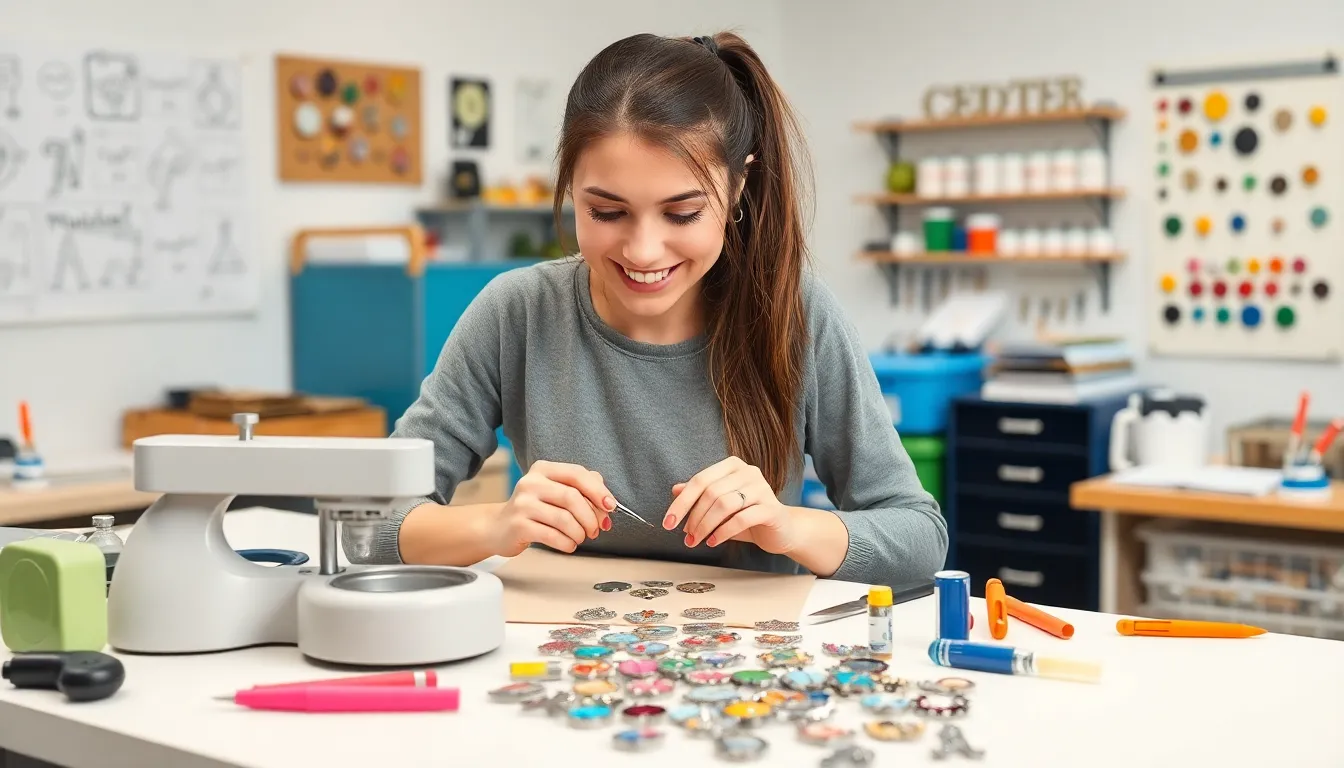
Crafting enamel pins at home requires specific materials to achieve quality results. The right supplies make the design process easier and more enjoyable.
Enamel Pin Blanks
Enamel pin blanks serve as the foundation for custom creations. Choose between metal, acrylic, or wooden options based on personal preference. Metal blanks offer durability, while acrylic allows for vibrant colors. Wooden blanks provide a unique aesthetic. Sizes typically range from 1 inch to 2.5 inches in diameter, accommodating various design ideas.
Tools for Creating Pins
Several tools enhance the enamel pin-making process. A cutting machine enables precise designs and ensures clean edges. Craft knives are useful for intricate details, while paintbrushes apply color effectively. Pliers assist in attaching pin backs securely. Hot glue guns bond materials well, providing a strong hold. Consider including a clear workspace to manage tools and enhance productivity.
Paints and Sealing Products
Selecting the right paints and sealing products is crucial for finishing touches. Acrylic paints offer a vast color palette suitable for detailed designs. Choose non-toxic options for safety. Sealants protect artwork from wear and fading, ensuring long-lasting vibrancy. Clear epoxy resin enhances gloss and durability simultaneously. Applying a coat of sealer helps maintain quality over time.
Step-by-Step Process
Making enamel pins at home involves specific steps that ensure quality and creativity. The following sections outline each phase in detail.
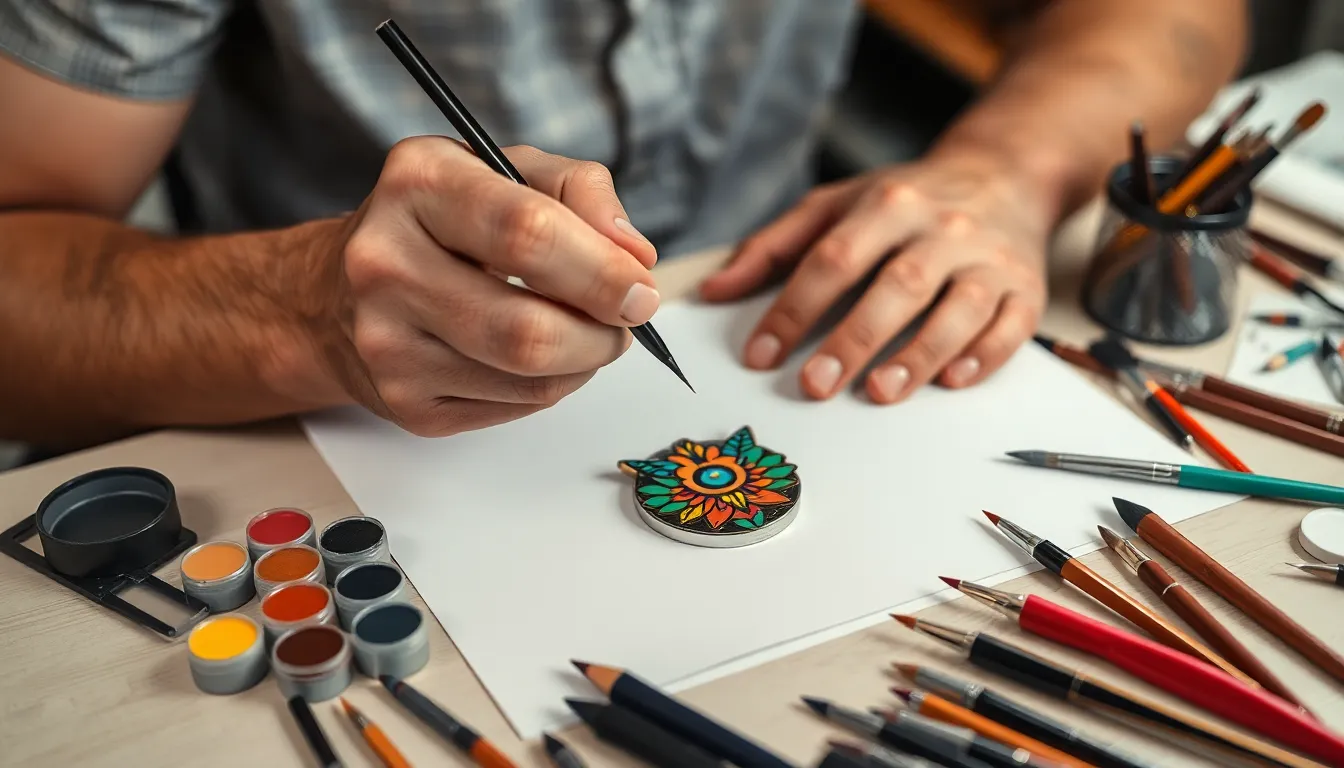
Designing Your Pin
Designing starts with sketching unique concepts. Artists often use digital tools or paper to visualize their ideas. It’s crucial to consider size and detail to maintain clarity in smaller designs. After settling on a design, transferring it to the chosen medium, such as metal or acrylic, becomes essential. Keep color schemes cohesive and think about how different colors will complement each other. Exploring themes like animals or hobbies enhances personalization.
Preparing the Base
Preparing the base sets the stage for a successful pin-making process. Selecting the right pin blank is vital, whether metal, acrylic, or wood. Each material requires different preparation methods. Clean surfaces thoroughly to remove dirt or grease. Then, apply a primer if using certain materials to ensure better paint adhesion. For metal bases, sanding may help create a smoother texture. Efficiently measuring and cutting the base to your desired shape helps maintain consistency.
Applying the Enamel
Applying the enamel brings the design to life. Choose high-quality enamel paint for the best results. Using a fine brush allows for detailed application, especially in small areas. Layering colors can create depth, so allow each layer to dry before adding more. Specific techniques like pouring or dotting can help achieve varied effects. Furthermore, using a sealant post-application protects the enamel and enhances durability. Following these techniques ensures vibrant, lasting results.
Finishing Touches
Finishing touches elevate the overall quality of homemade enamel pins. This phase includes sealing the pins and adding necessary attachments.
Sealing Your Pins
Sealing pins guards them against wear and moisture. Apply a quality sealant or epoxy resin after the paint dries, ensuring a smooth finish. Consider using a brush or spray method for even coverage. Allow ample drying time for the sealant to bond properly to the enamel, typically around 24 hours. Remember, a well-sealed pin retains its vibrancy and durability, which enhances wearability over time. Check for any missed spots during the sealing process, as this can impact the final look.
Adding Attachments
Attachments secure the pins for practical use. Choose from various options such as butterfly clutches, rubber backs, or magnetic backing. Attachments provide stability and make it easy to wear on bags or clothing. Positioning the attachment is crucial; center it on the reverse side for balance. Ensure each pin’s attachment is firmly fixed to prevent any loss during use. Test the attachment’s strength by gently tugging on the pin before finalizing your design. This step guarantees a reliable product ready for showcasing creativity.
Tips for Success
Creating enamel pins at home offers a chance to embrace artistry, but avoiding common pitfalls enhances the experience.
Common Mistakes to Avoid
Overloading designs complicates pin making. Simplifying the design ensures clarity when transferring to the pin blank. Ignoring surface preparation leads to poor paint adhesion. Ensuring cleanliness of the pin blanks improves the final result. Neglecting curing times can result in smudged or damaged paint. Always allow recommended drying periods for sealants. Failing to test attachments causes unstable pins. Checking each pin’s attachment helps maintain functionality during use.
Best Practices for Quality
Selecting high-quality materials enhances durability. Choosing premium paint and base materials yields vibrant results. Layering paint enables a richer appearance; adding multiple coats creates depth. Sealing pins with epoxy resin protects against moisture and wear, extending longevity. Keeping working areas organized minimizes mess. Efficient organization allows for smoother workflow during creation. Testing the strength of attachments ensures reliability during daily wear. Regularly inspecting finished pins maintains visual appeal over time.
Making enamel pins at home is a fulfilling way to channel creativity and personal expression. With a variety of themes and designs to explore, anyone can create unique wearable art that reflects their interests.
By following the outlined steps and utilizing quality materials and tools, the pin-making process becomes accessible and enjoyable. The right techniques ensure vibrant and durable results that stand the test of time.
As creators refine their skills, they’ll find endless possibilities for customization and innovation. Each pin can tell a story or showcase a passion, making them not just accessories but meaningful pieces of art. Embrace the journey of crafting enamel pins and let imagination lead the way.