
Imagine spreading creamy, homemade peanut butter on your morning toast, knowing exactly what’s in it. No artificial flavors or preservatives—just pure, nutty goodness. Making peanut butter at home isn’t just a fun kitchen experiment; it’s a delicious way to elevate your snacks and meals. Plus, it’s easier than you might think!
Understanding Peanut Butter
Peanut butter serves as a popular spread and ingredient worldwide, known for its creamy texture and rich flavor.
History of Peanut Butter
Peanut butter dates back to ancient civilizations, where ground peanuts served as a food source. In the early 19th century, a process for grinding peanuts into a paste emerged in the United States. It gained popularity in the 1880s when a doctor promoted it as a nutritious protein substitute. By 1895, a patent was granted for a mechanical peanut butter maker. Since then, peanut butter has evolved into a staple in many households, enjoyed in various forms, from creamy to chunky.
Nutritional Benefits
Nutritionally, peanut butter offers several advantages. It contains approximately 25 grams of protein per 100 grams, supporting muscle health. Additionally, it provides healthy fats, primarily monounsaturated and polyunsaturated, which contribute to heart health. Rich in vitamins E and B6, peanut butter also plays a role in maintaining skin health and metabolism. Moreover, its fiber content aids digestion, promoting a sense of fullness and supporting weight management.
Ingredients Needed
Making peanut butter at home requires minimal ingredients. Quality selections enhance flavor and texture.
Types of Peanuts
Select between raw or roasted peanuts. Raw peanuts offer a fresh, natural flavor, while roasted peanuts provide a deeper, nuttier taste. Voicing preference for one over the other determines the overall outcome of the butter. For instance, planters prefer using Valencia, Spanish, or Virginia peanuts due to their differing flavors and oil contents.
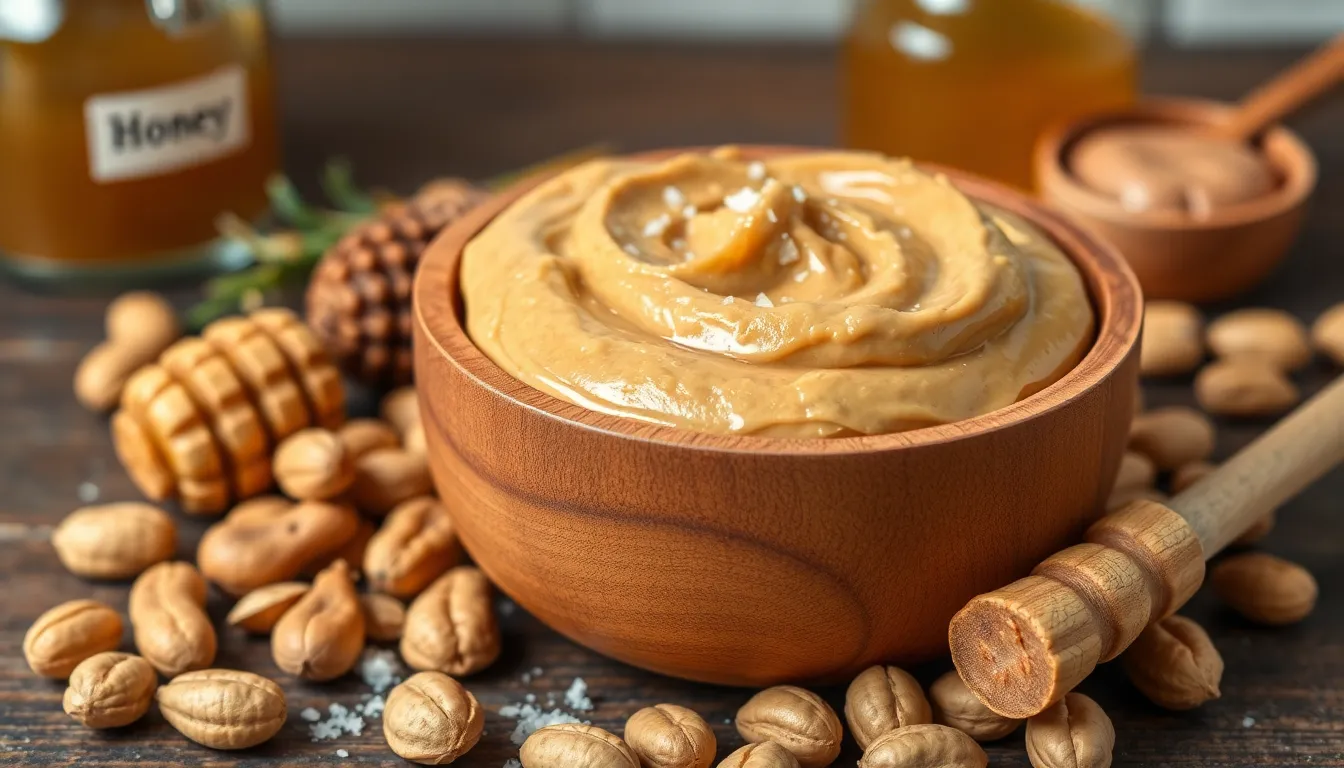
Optional Add-Ins
Consider various optional add-ins for enhancing taste. Salt serves to amplify flavor, while honey or maple syrup adds sweetness. Adding oil, like peanut or coconut, improves creaminess. Other ingredients, such as chocolate or cinnamon, create unique variations tailored to personal preference. Explore combinations that elevate the classic taste of peanut butter.
The Process of Making Peanut Butter
Making peanut butter at home involves simple steps and attention to detail. This section outlines the crucial stages to achieve the best results.
Step-by-Step Instructions
- Gather ingredients: Use 2 cups of roasted peanuts as the main component.
- Add optional ingredients: Include salt, honey, or oil based on personal preference.
- Place peanuts in a food processor: Process for about 1-2 minutes until ground into a coarse meal.
- Scrape down the sides: Continue blending for 3-5 minutes until reaching a smooth, creamy consistency.
- Taste and adjust: Incorporate additional ingredients if desired, and blend briefly to mix.
- Store properly: Transfer peanut butter into an airtight container and refrigerate for up to 3 weeks.
Tips for Optimal Consistency
Use freshly roasted peanuts for a richer flavor profile. Aim for a smooth blend by pulsing the food processor to avoid overheating. Experiment with adding small amounts of oil for creaminess; start with half a tablespoon and adjust if necessary. When achieving the desired consistency, consider varying the processing time to create chunky or smooth textures.
Including a pinch of salt can enhance the overall taste. If sweetness is preferred, incorporate honey or maple syrup in moderation. Store the homemade peanut butter in the refrigerator to preserve freshness while maintaining texture.
Storing Your Homemade Peanut Butter
Storing homemade peanut butter properly ensures its freshness and flavor, allowing for an enjoyable experience over time.
Best Storage Practices
Use an airtight container for storage. Glass jars or plastic containers work well, as they prevent air exposure. Keep the container in a cool, dark place like a pantry or cupboard. Refrigerating peanut butter is optional, but it can extend its freshness, especially in warmer climates. Always check for signs of separation; a quick stir can restore consistency.
Shelf Life and Usage
Homemade peanut butter generally lasts about three weeks at room temperature. In the refrigerator, it remains fresh for up to three months. Observe color or smell changes to identify spoilage. Use homemade peanut butter in sandwiches, smoothies, or as a dip for fruits and vegetables to maximize its creamy texture and rich flavor.
Making peanut butter at home is not just easy but also rewarding. With simple ingredients and a few steps, anyone can create a delicious spread tailored to their taste. The freedom to customize flavors and textures opens up endless possibilities for culinary creativity.
Storing homemade peanut butter properly ensures it remains fresh and ready for use. Whether enjoyed on toast, in smoothies, or as a dip, this nutritious treat enhances meals and snacks alike. Embracing the homemade route not only promotes healthier eating but also connects one to the rich history of this beloved spread.